Understanding Light and Colour Loss Underwater
Underwater photography often rehashes the ideas of light and color loss. Underwater photographers, new or experienced, know this: “Light and color disappear with depth.” Many tutorials explain it. But many don’t grasp its importance until it’s too late. You might compare your underwater photos to others. Their photos may look better, despite using the same camera, settings, and subject.
“How can their photos look better? We were shooting the same thing side by side!”
This is a question I’ve heard time and again as an instructor. It shows a truth: Without knowing underwater light and color, even the best gear won’t save your photos. Beginners, in particular, tend to overlook one critical factor: horizontal distance. Water depth affects light absorption. But, the lens’s distance to the subject complicates things. For example, if you’re 7 meters deep and your subject is 2 meters away, the total light path is 9 meters. That’s a significant loss of light and color.
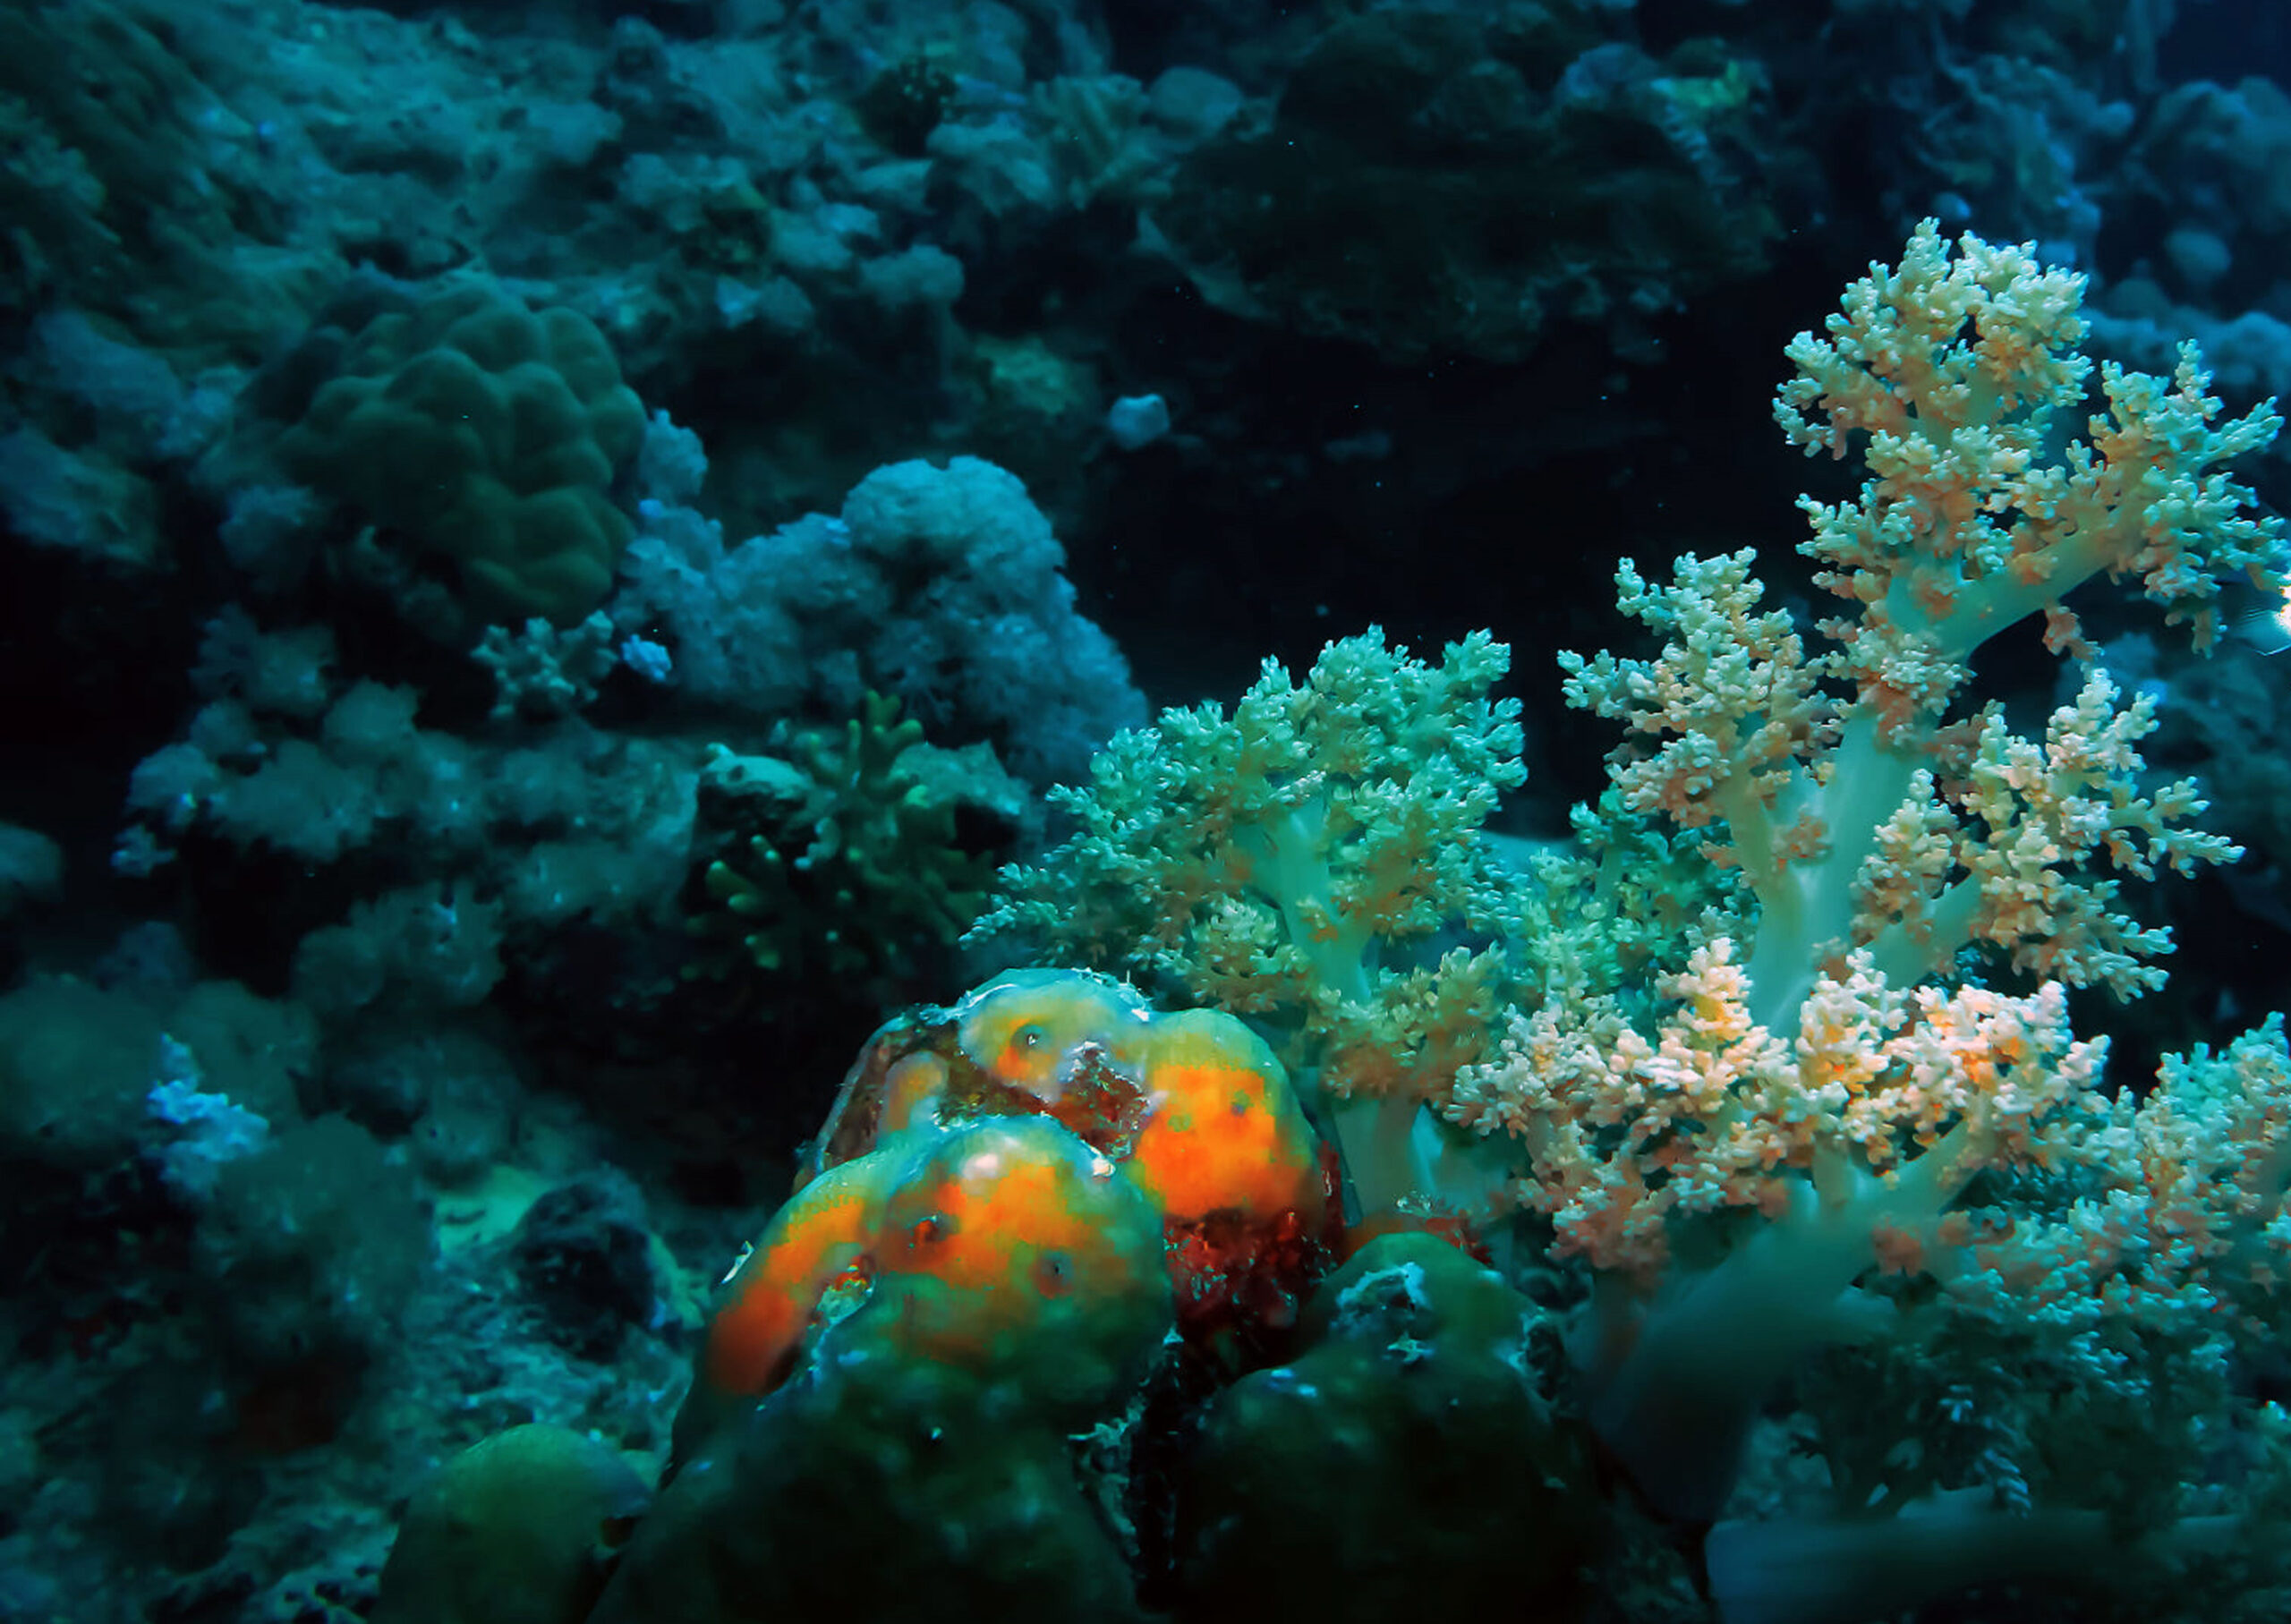
Let’s illustrate this further. Think back to a day of excellent visibility at 10 meters. You likely remember seeing vivid, colorful underwater scenes with your eyes. Yet, your camera’s results lack vibrancy and appear washed out. Why? The human brain compensates for the blue color cast by enhancing warmer tones. Your camera cannot achieve this on its own. It needs your help and knowledge of underwater light for vibrant, balanced photos.
Why Light Behaves Differently Underwater
Water is 800+ times denser than air, significantly altering how light travels. It’s like photographing something 800 meters away on land. It’s the same as taking an image 3 meters underwater. Once light enters the water, it interacts with suspended particles. This degrades both color and contrast.
In tropical waters, suspended particles reflect and scatter light. So, they reduce clarity and contrast. For example, imagine someone wearing bright red swim shorts. Near the surface, those shorts appear vivid, but at 2 meters, they’ll look muted and dull. This principle applies in all situations, regardless of how pristine the conditions seem.
Surface and Sunlight Conditions Matter
Surface conditions and the sun’s position affect how much light enters the water.
Practical Tips to Overcome Light and Colour Loss
1. Get Closer Then Get Even Closer
The biggest mistake underwater photographers make is not getting close to their subjects. Lower the water column between your lens and the subject. This helps reduce color loss, diffusion, and backscatter.
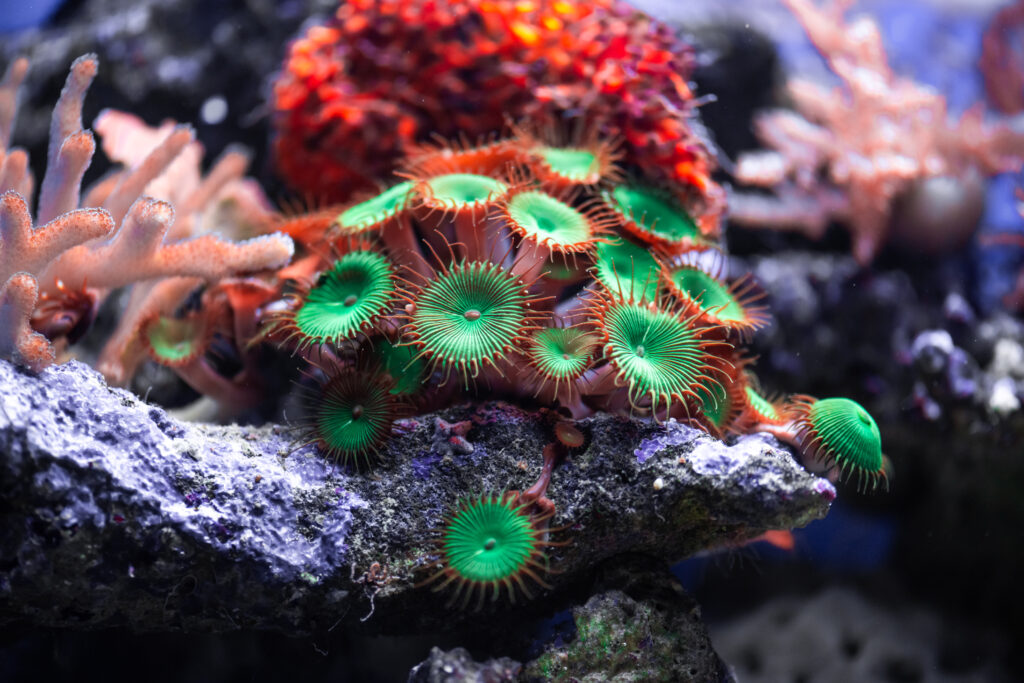
For example, when you take a picture of a bright coral reef, get close. This might risk overexposing it. Trust your strobes and test different power levels (e.g., half or three-quarters). Once you see those colors in your viewfinder, you’ll understand. Proximity is paramount.

2. Choose the Right Lens
Using macro or wide-angle lenses can significantly enhance your results.
Both lenses can focus on very close subjects. This reduces the water column and improves sharpness and color.
Understanding and Using Strobes
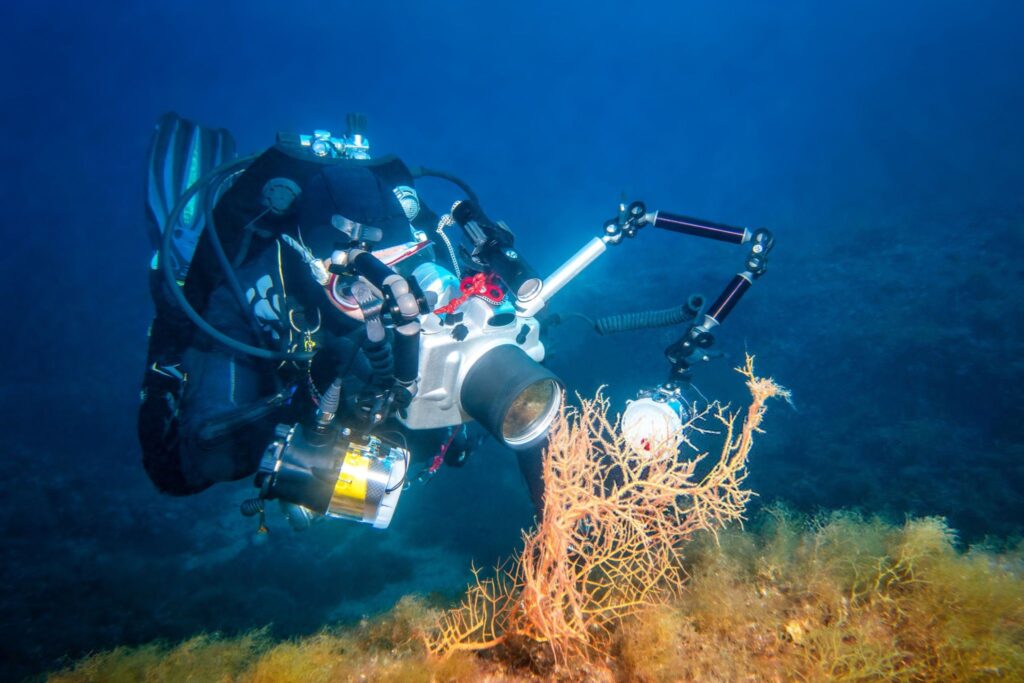
Natural light can produce beautiful results in the right conditions. But, at depth, strobes (underwater flashes) are essential. They achieve vibrant colors and sharpness. Here are some foundational tips:

Final Thoughts
Underwater photography is both a science and an art. Technical knowledge about light and color loss is vital. Both practice and experimentation hold equal importance. By applying these principles regularly, you’ll improve your underwater images. Get close, use the right lenses, and master strobe lighting. Remember: the ocean rewards patience and persistence. So dive in, get close, and let the underwater world’s true colors shine through your lens!
