In underwater photography, you must master the aperture and shutter speed. They are the two most critical aspects. These basic settings let you control the light coming into your camera. They also affect the quality and style of your photos. Let’s dive deeper into these concepts to help you capture the beauty of the underwater world.
Understanding Aperture
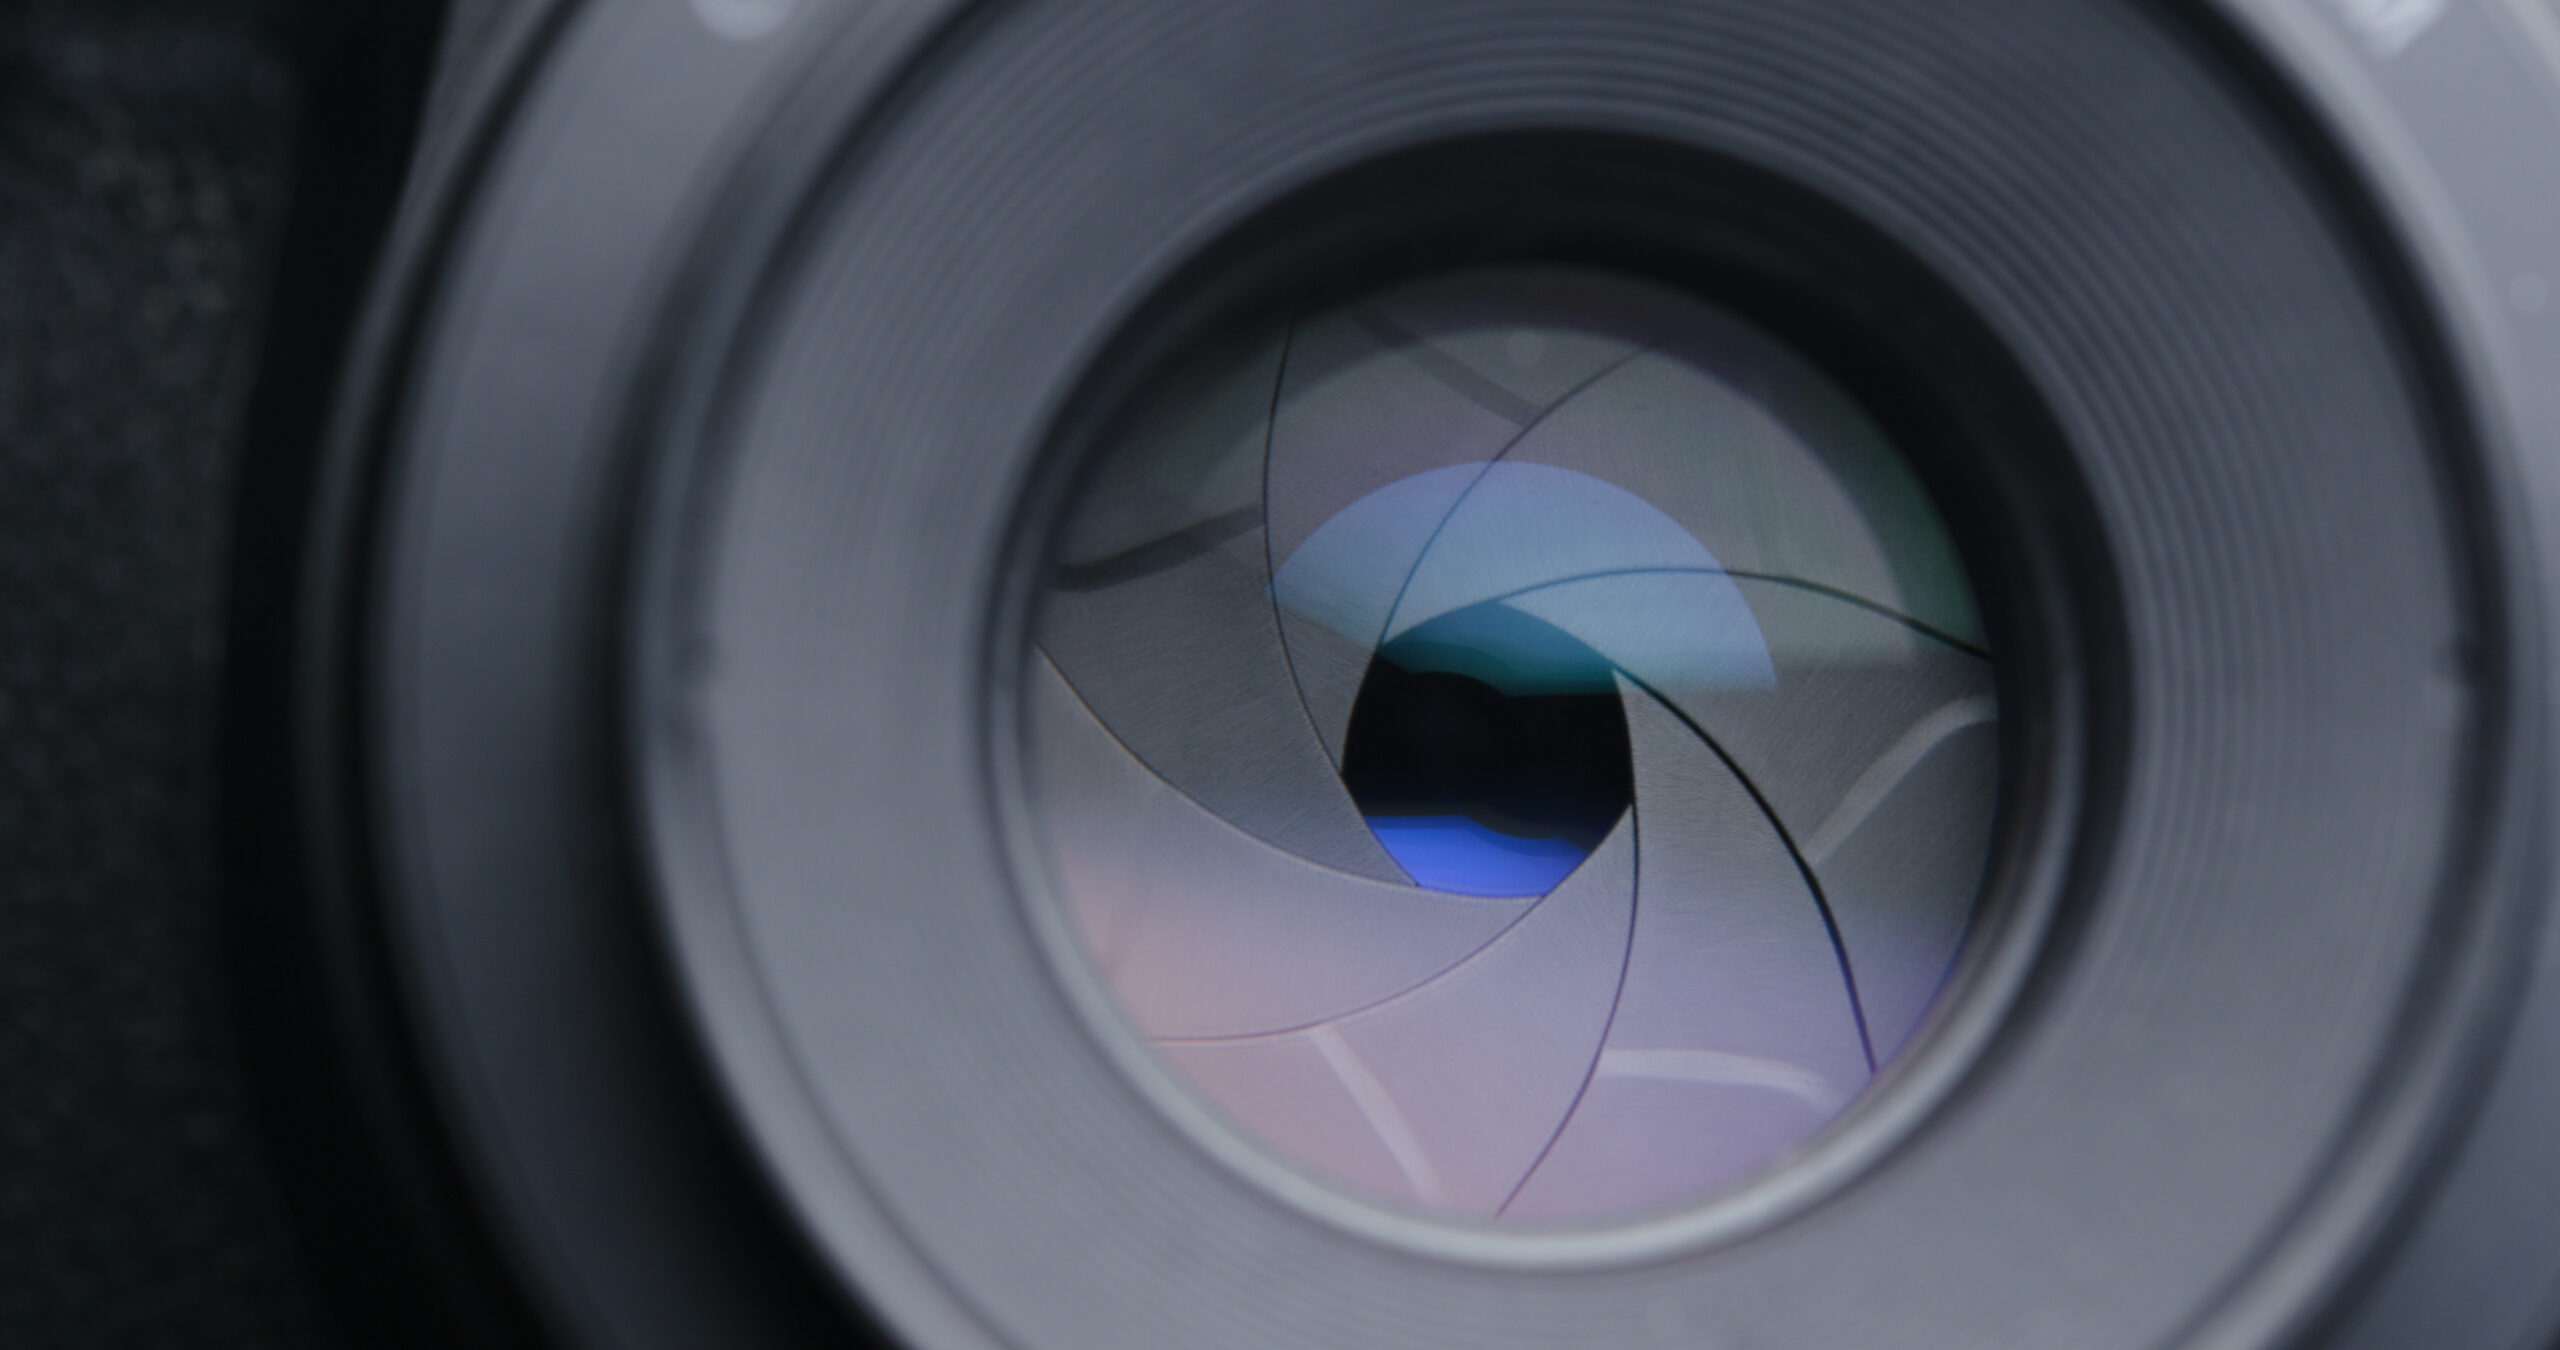
The aperture, or “the hole,” controls how much light hits the camera sensor. You can adjust the aperture to control the light entering your camera. Photographers express this in f-numbers (or f-stops).
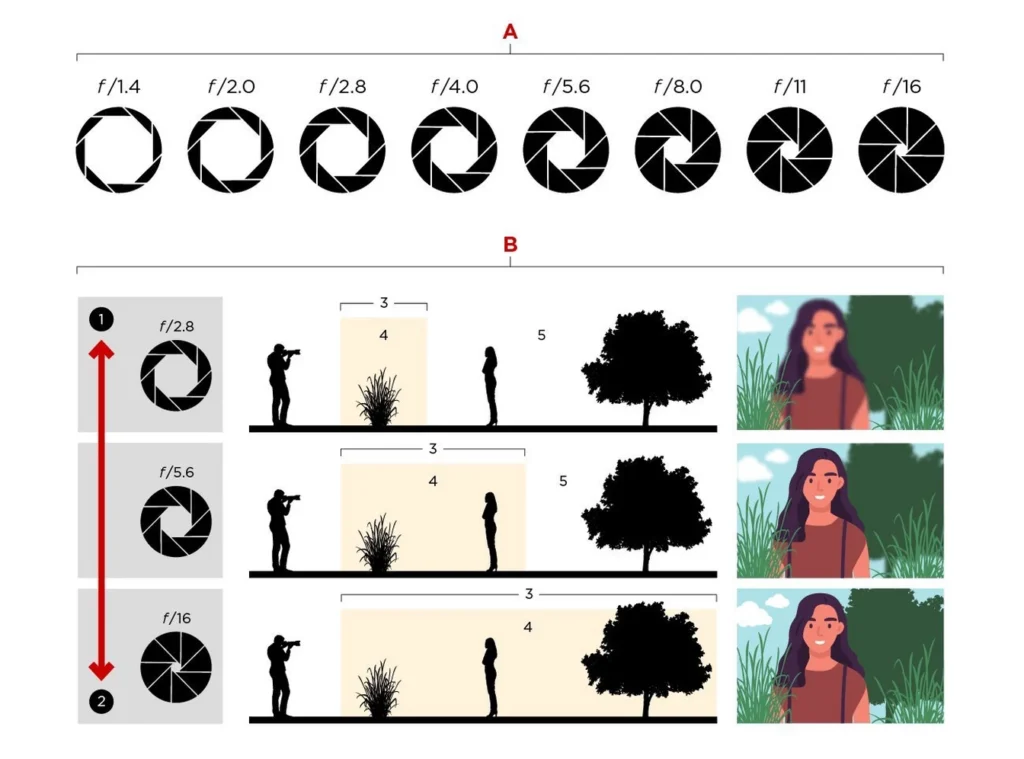
Here’s a quick reference of common f-numbers: f/1.4, f/2, f/2.8, f/4, f/5.6, f/8, f/11, f/16, f/22, f/32, f/45, f/64.
How Do F-Numbers Work?
The apertures follow a 2:1 ratio. Each step doubles or halves the hole size. For example:
This system is vital for adjusting exposure underwater. Lighting changes rapidly with depth, water clarity, and the sun’s position.
Remember:
For example, if you’re photographing a clownfish in a shaded part of a coral reef, use a wide aperture like f/4. It will let in more light and blur the background, making the fish stand out.
Aperture in Compact Cameras
Compact system cameras also feature aperture control. But their smaller size means they have shorter lenses and smaller sensors than DSLRs and mirrorless cameras. This means their aperture calculations differ slightly.
For instance, on a compact camera, an aperture of f4 might provide a depth-of-field effect like f8 on a DSLR. The principles are the same. But, it’s essential to experiment with your camera to understand its quirks underwater.
Understanding Shutter Speeds
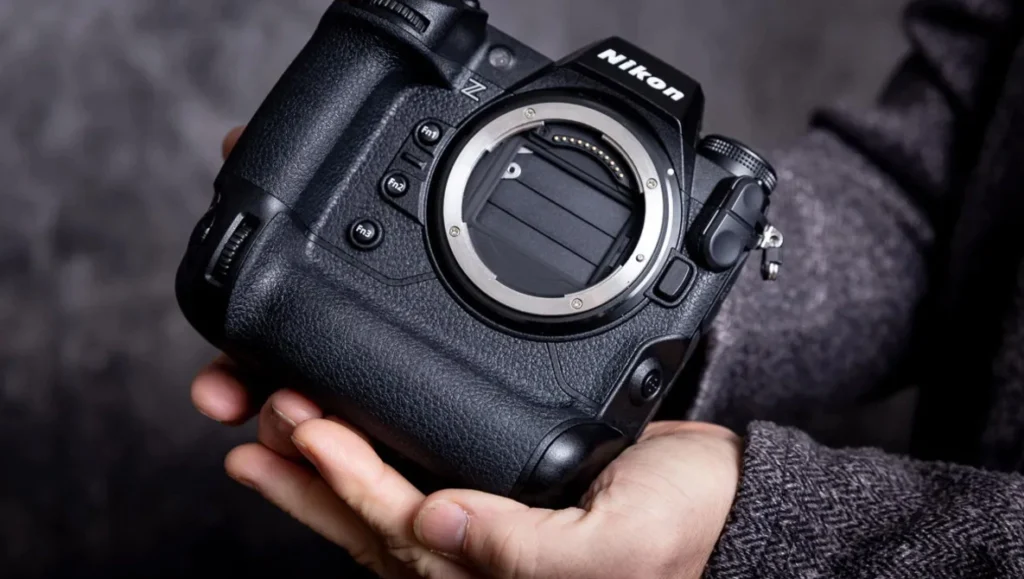
The shutter speed determines how long the camera’s sensor is exposed to light. When you press the shutter button, a curtain inside the camera opens, allowing light to hit the sensor. After the designated time, the curtain closes.
Shutter Speed Basics
Shutter speeds are fractions of a second: 1/8000, 1/4000, 1/2000, 1/1000, 1/500, 1/250, 1/125, 1/60, 1/30, 1/15, etc.
Each step in shutter speed either doubles or halves the exposure time.
For instance, if you take a picture of a shark swimming in bright water, use a shutter speed of 1/500 sec. This will noticeably freeze its movement. To capture the motion of a school of fish, you might use a shutter speed of 1/30 sec to create a blur effect.
Special Considerations for Underwater Photography
- Sync Speed: Match the camera’s shutter speed with the strobe’s sync speed. This helps prevent uneven lighting. This applies to both built-in and external strobes. For most DSLRs, this speed is about 1/250 or 1/320 sec. But many mirrorless and compact cameras allow higher sync speeds. Always check your camera manual for exact sync settings.
- Reduced Gravity and Handheld Shots: You can handhold your camera at slower shutter speeds underwater. The lack of gravity allows for this, unlike on land. For instance, 1/60 sec might blur on land. But you can often shoot at 1/15 sec underwater without a noticeable shake.
Shutter speeds can be confusing when dealing with full seconds versus fractions. Many cameras state full seconds with quotation marks (e.g., 4” for 4 seconds). Practice reading and adjusting shutter speeds to avoid mistakes during critical moments underwater.
Practical Example: Combining Aperture and Shutter Speed
Imagine you’re photographing an Eagle ray gliding through murky water:
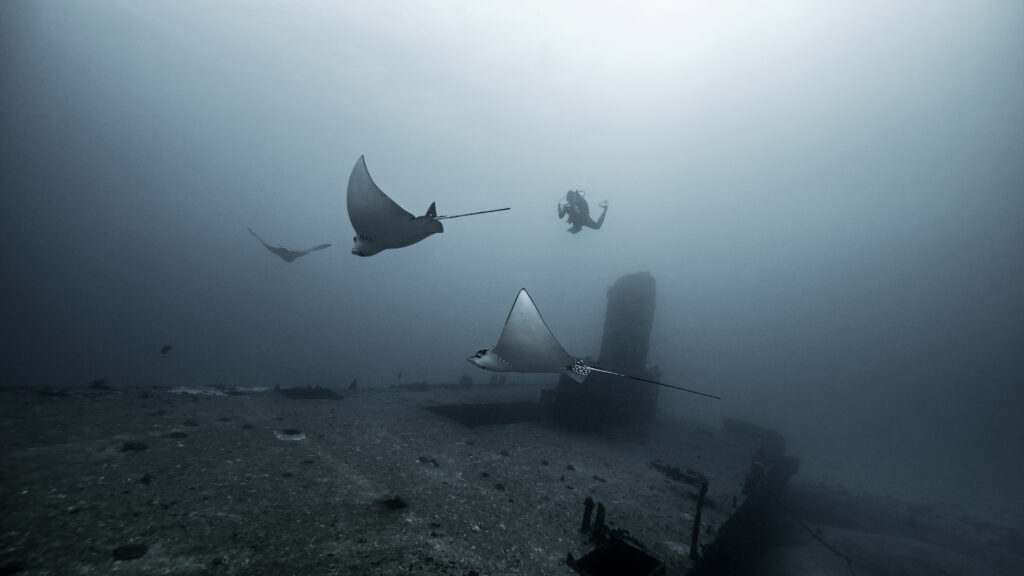
Master aperture and shutter speed. You’ll gain control over your underwater photography.
How Aperture and Shutter Speed Work Together
In photography, exposure value (EV) describes a change of one “stop.” It can be an increase or a decrease. A stop refers to doubling or halving the amount of light reaching the camera sensor. For instance, moving from an aperture of f/8 to f/11 is a change of one stop or one EV. So is changing the shutter speed from 1/125 sec to 1/250 sec. Aperture settings and shutter speeds are both in a 2:1 ratio. This creates a perfect balance between them when used together.
For example, an aperture of f/8 with a shutter speed of 1/60 sec lets in the same light as f/5.6 at 1/125 sec or f/4 at 1/250 sec. This is because opening the aperture by one stop allows more light. The shutter speed compensates by being faster to allow less time for light to enter. These combos create the same exposure levels. They keep your image bright. They also let you adjust things like motion blur or depth of field.
| 1″ | 1/2 | 1/4 | 1/8 | 1/15 | 1/30 | 1/60 | 1/125 | 1/250 | 1/500 |
| f32 | f22 | f16 | f11 | f8 | f5.6 | f4 | f3.5 | f2.8 | f2 |
Visual Example: Imagine capturing a coral reef underwater. To keep both the foreground fish and background coral sharp, use f/11 with 1/30 sec. This gives more depth of field. If the fish are moving and you want to freeze the motion, you could switch to f/4 and 1/250 sec. Both combinations deliver the same exposure. But, they affect your final image in significantly different ways.
If your DSLR or mirrorless camera shows odd settings, that’s why. Many modern cameras adjust in one-third or one-half increments, not full stops. These fractional adjustments can confuse beginners. They may think you are changing settings by a full EV, but you are not.
Moving from f8 to f9 is a small change. To an untrained person, there may be no difference in exposure. To simplify your learning, try changing your camera’s settings. Adjust them by full-stop increments instead. This means your camera will change the aperture from f8 to f11, or the shutter speed from 1/60 sec to 1/125 sec. Understanding how aperture, shutter speed, and exposure relate helps. You can adjust this setting in your camera’s menu, usually found under “exposure steps” or a similar option.
Why This Matters: Knowing the aperture and shutter speed lets you control your photography. You can achieve stunning results both underwater and on land. Mastering this balance lets you freeze a dolphin’s speed or catch sunlight in the water. It opens up endless creativity.
Understanding Depth of Field in Underwater Photography
The aperture setting on your camera affects two key aspects of your photo:
- It controls the amount of light that enters the camera.
- It determines the depth of field (DoF), which is the area in focus within the image.
A camera lens can only achieve a clear focus on one point. Areas in front of and behind this point lose sharpness over time. Within the depth of field, this loss of sharpness is so subtle that it is imperceptible to the human eye. The photographer positions one-third of the sharp focus zone in front of the subject. The other two-thirds are behind it.
For underwater photographers, depth of field is key. It helps create visually compelling images. For instance:
How Aperture Affects Depth of Field
The size of the aperture has a strong influence on the depth of field.
Also, the distance between the lens and the subject affects the depth of field.
Practical Tips for Depth of Field
For example, imagine shooting a vibrant anemonefish peeking out of its anemone home. Using f/2.8, you can blur the anemone’s tentacles. This will ensure the fish grabs the viewer’s attention. Using f/16, you can capture the fish along with its detailed surroundings in sharp focus.
Final Thoughts
Depth of field is a key tool in photography. It’s a big help in underwater situations with sudden changes in light and subjects. Practice with different apertures. Observe their effects. You will then know how to use sharp and blurred areas to create dynamic, impactful images. This skill will improve your storytelling. It will help you capture the underwater world in ways that enchant your audience.
