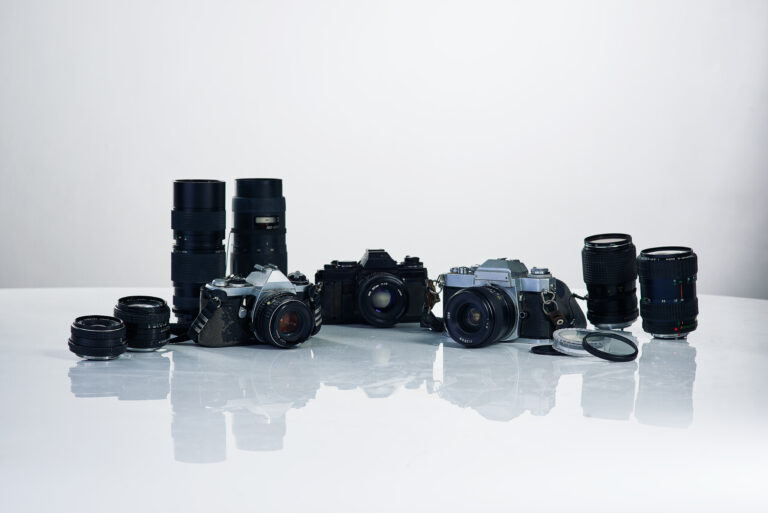
Many underwater photographers want to go beyond their cameras’ auto modes. But it may not be very safe. This is especially true when you’re submerged. The stakes are higher, and the environment is tougher. If you don’t know how your camera settings affect the image, you might feel restricted by the auto mode. It takes control away from you. It’s hard to appreciate the nuances of underwater photography. One must know what makes one photo stand out and another fail.
The key to unlocking your camera’s full potential lies in mastering manual exposure. This article will help you use manual, aperture, and shutter priority modes underwater. We’ll revisit the core principles of aperture, shutter speed, and ISO. They are the keys to perfect exposure. Even seasoned photographers can confuse terms like f-numbers, stops, and speeds. If you need a refresher on these, don’t worry keep reading!
Camera Exposure Modes
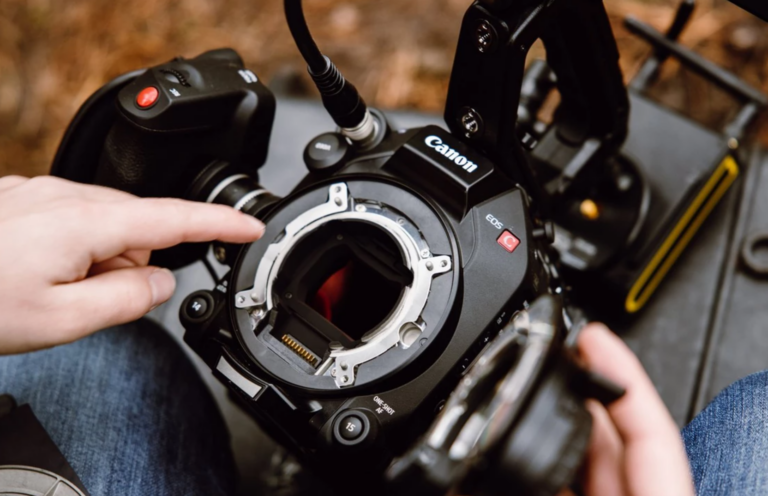
Most cameras today, whether DSLRs, mirrorless, or compact systems, have exposure modes. Each mode caters to different skill levels and preferences. These are the key modes you will encounter:
Also, many cameras have preset “Auto” modes, like landscape, portrait, or sports. I find these tools useful sometimes, but I avoid them for underwater photography. They often miss the special challenges of lighting and composition underwater.
Light and Time: The Essentials of Exposure
At the heart of every photograph are two essential components: light and time. They work together to create the right exposure. It captures the scene as you envision it.
If either of these two elements is off, the result will be an image with poor exposure. For example:
To illustrate this, think of it like adjusting the dimmer switch on a light. If you dim the light too much (underexposure), the room will be too dark. If you turn it up too high (overexposure), the room will be excessively bright. The key is finding the sweet spot the correct balance between light and time.
The Importance of Understanding Exposure
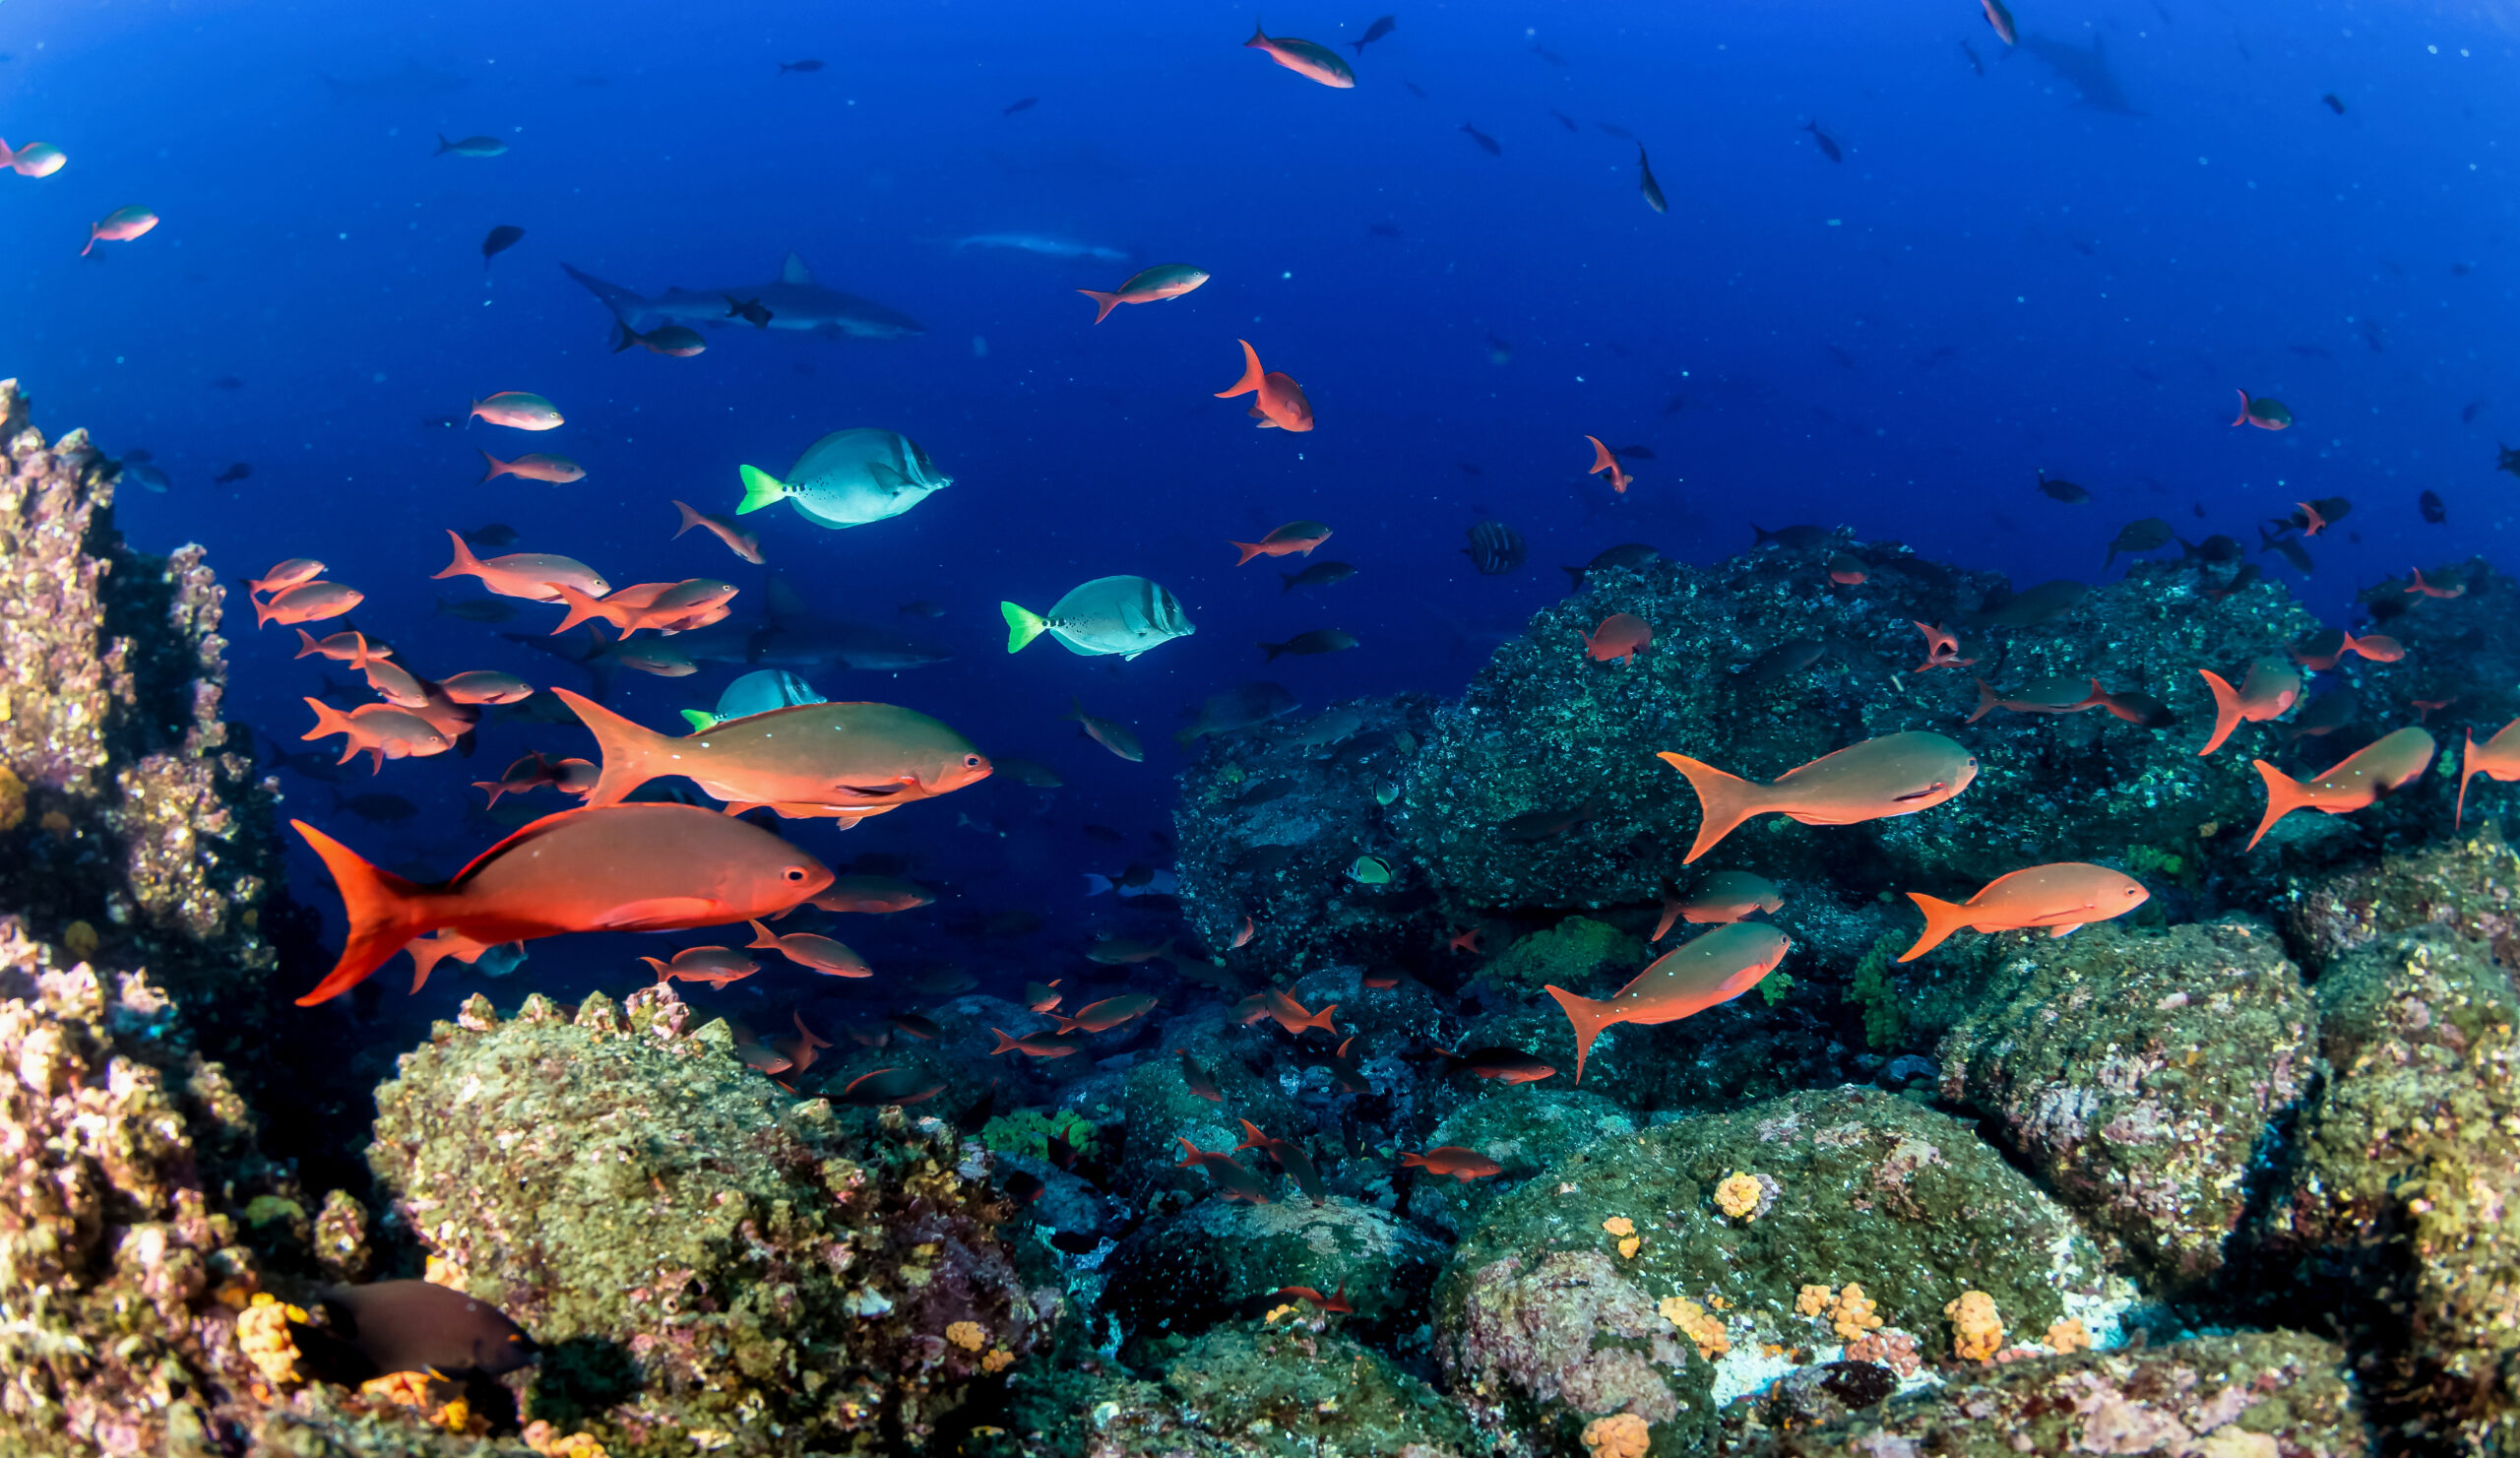
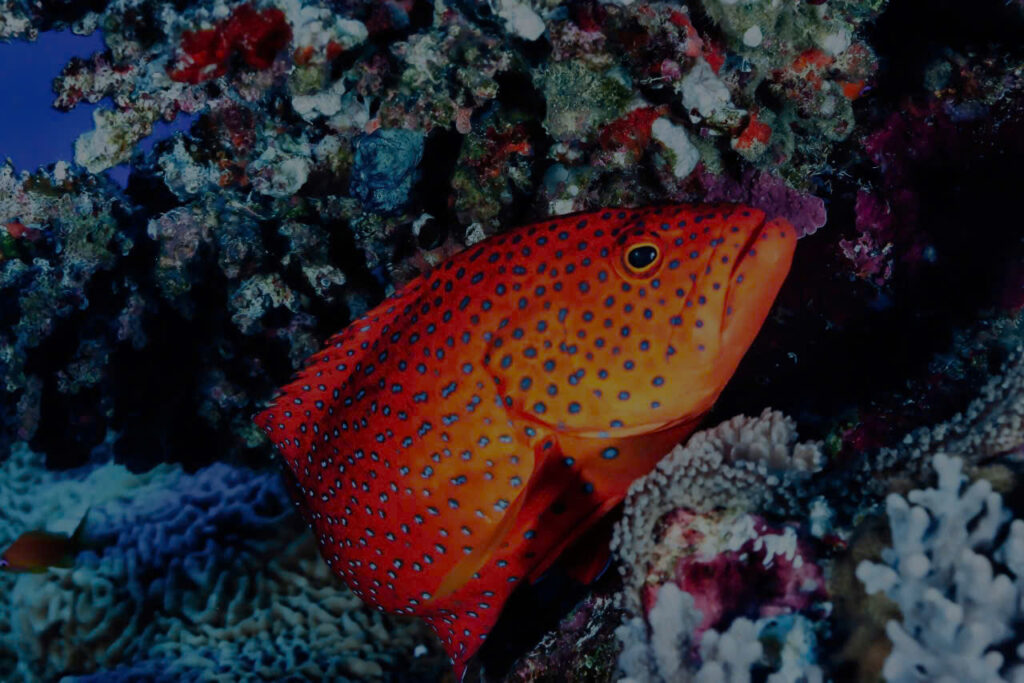
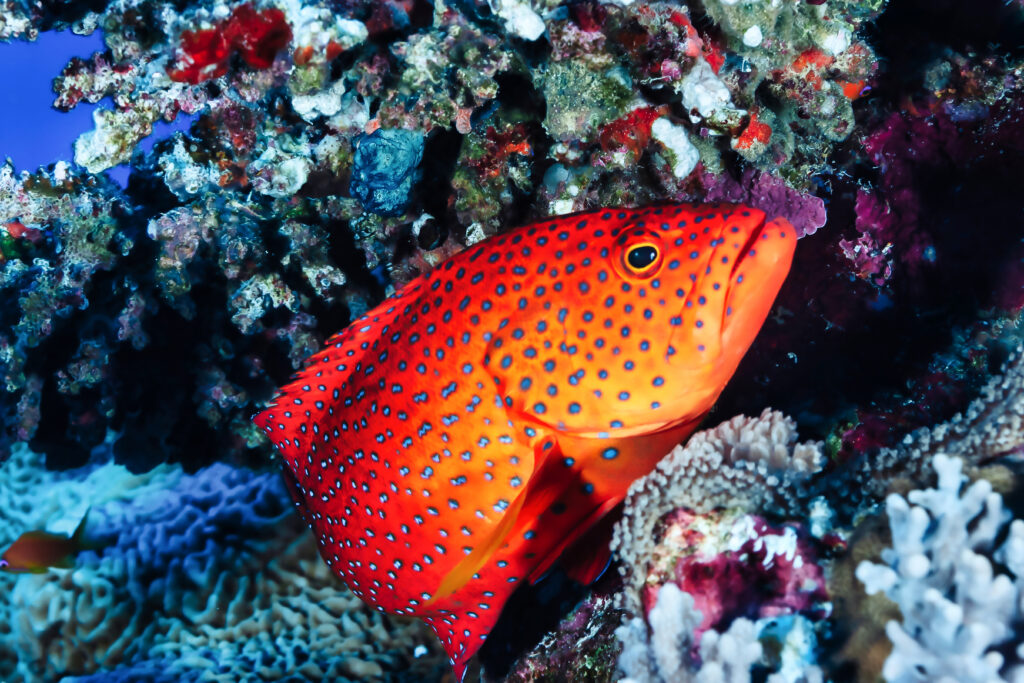
Manual exposure lets you control light and time. You can achieve your desired effect. That’s its beauty. To capture the beauty of a coral reef or a diver’s grace, you must control exposure. This will take your underwater photography to new heights. Once you master these concepts, you will create stunning, well-exposed images. They will capture the vibrant underwater world.
Let’s explore each element: shutter speed, aperture, and ISO. We’ll see how they work together in underwater photography. But first, here’s an illustration to help you visualize how exposure works:
It’s not just about technical know-how. It’s about bringing your creative vision to life beneath the waves.